
Cracked Tiles and Hollow-Sounding Floors: The Causes
An inspector's guide to the real causes of cracked tiles and hollow-sounding floors. We examine sub-floor movement, adhesive coverage, and common installation myths.
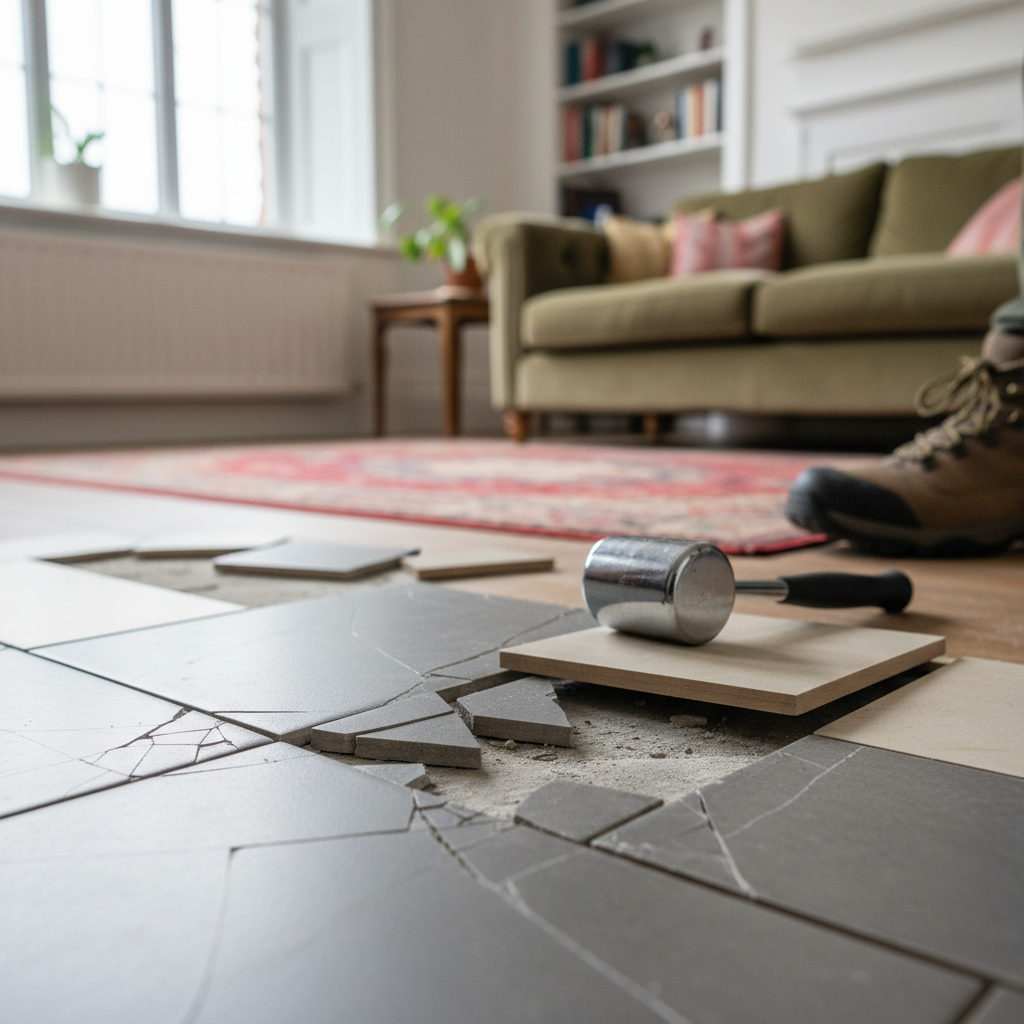
It is a story I hear often. A homeowner notices a tile sounds different when they tap it, a sort of hollow drum sound compared to the solid click of the tiles next to it. For a while, nothing happens. Then, one day, a fine hairline crack appears, or a corner breaks away completely. The link between cracked tiles and hollow-sounding floors is almost always direct, and it points to underlying issues with the installation or the sub-floor itself.
When I am called to a property to investigate, the first thing I do is listen. Tapping gently across the floor tells me a great deal before I even take out my tools. A hollow sound indicates a void. This void means the tile is not fully supported by the adhesive beneath it. An unsupported tile is weak, and it is only a matter of time before day to day traffic, or the weight of furniture, causes it to fail.
The common myths you might be told
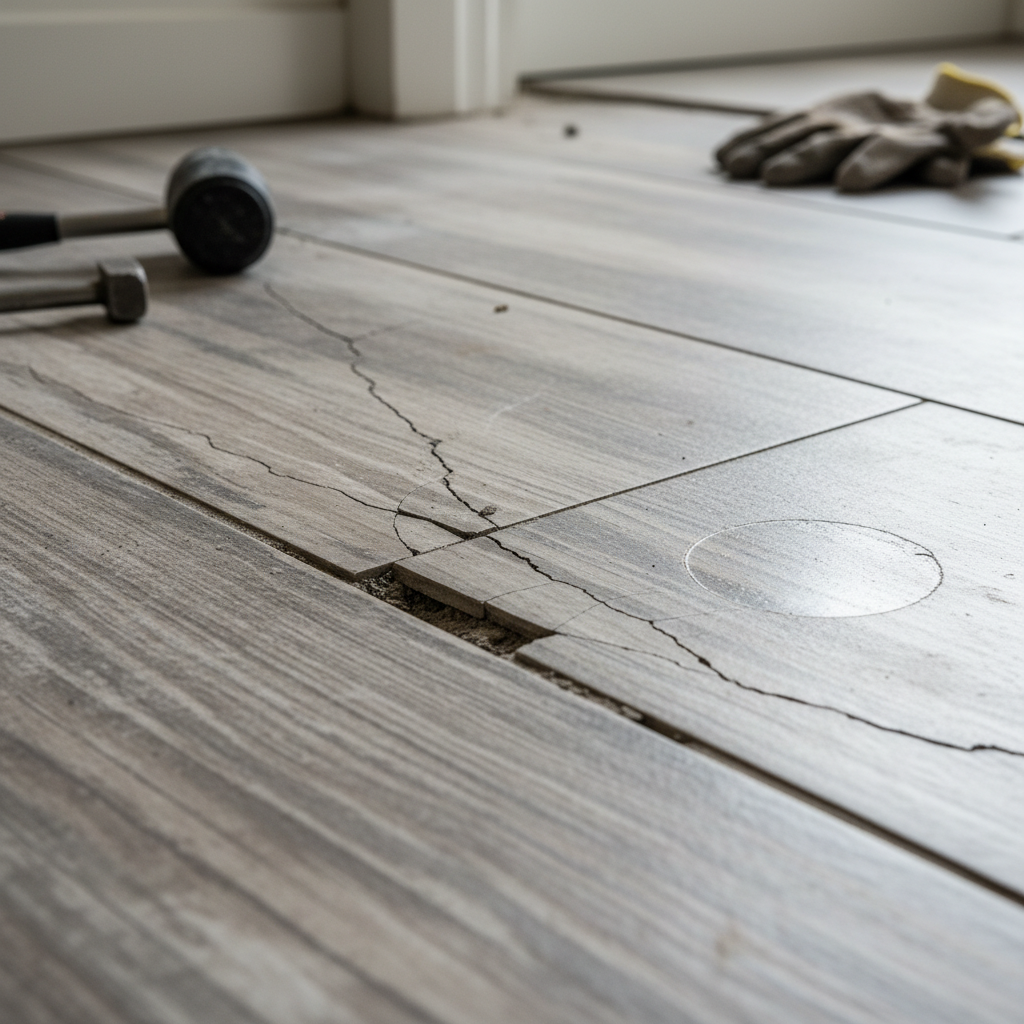
When you report cracked tiles and hollow-sounding floors to a supplier or installer, you may be met with a range of explanations. In my experience, these are often designed to deflect from the root cause. It is useful to be aware of them.
One common explanation is that the house has 'settled'. While new buildings do experience some minor structural settlement, this is rarely the cause of isolated tile failures. A more likely cause is movement or 'deflection' in the sub-floor, which should have been identified and rectified before any tiles were laid.
Another is that you must have dropped something heavy. While a significant impact can of course damage a tile, a properly installed tile on a solid bed of adhesive is remarkably strong. If a tile cracks under normal household use, such as from a chair leg or even just being walked on, it suggests the tile was not supported correctly to begin with. The hollow sound is the key piece of evidence here.
Finally, you might be told that it is normal for some tiles to sound hollow. Based on my professional opinion and the guidance in British Standards, this is incorrect. The standards for tile installation call for a solid bed of adhesive to provide complete support. Voids create weak points, which is why they are to be avoided.
Why the sub-floor is so important
Every floor is only as good as the foundation it is laid upon. Before a single tile is fixed, a professional installer should conduct a thorough assessment of the sub-floor. For timber suspended floors, like floorboards on joists, the key concern is deflection. This is the amount of 'bounce' in the floor. Too much movement will, over time, break the rigid bond of the tile adhesive and grout, leading to failure. We can test for this on site. Often, an overlay of thick plywood or a specialist tile backer board is needed to stiffen the floor sufficiently.
With concrete or screed sub-floors, the primary concerns are moisture and stability. A new screed must be allowed to cure and dry fully before tiling can begin. Tiling over a wet screed traps moisture, which can cause the adhesive to fail. On site, I use a digital moisture metre to check the relative humidity of the sub-floor. Sometimes, especially with anhydrite screeds, a surface layer called laitance needs to be removed by grinding. If this is not done, the adhesive sticks to a weak, dusty layer instead of the solid screed beneath.
What happens if the adhesive is not applied correctly?
This is perhaps the most frequent cause of cracked tiles and hollow-sounding floors I encounter. To save time or adhesive, installers may use a method known as 'dot and dab'. This involves putting a few blobs of adhesive on the back of the tile and pressing it into place. This method is not recommended for flooring. It inherently creates large voids under the tile, leaving the corners and edges completely unsupported.
Correct practice, as outlined in BS 5385, involves applying adhesive to the sub-floor with a notched trowel to create uniform ridges. The tile is then pressed firmly into this bed with a slight twisting action, which collapses the ridges to create a solid, void-free layer. For large format tiles, a method called back-buttering (applying a thin, flat coat of adhesive to the tile back as well) is also recommended to ensure full coverage. At the time of inspection, if permission is granted, I may lift a failed tile to examine the adhesive coverage. The evidence of how it was fixed is usually very clear to see.
The role of movement joints
All materials expand and contract with changes in temperature and humidity. A tiled floor is no different. To accommodate this movement, the installation must include movement joints. These are flexible joints, usually filled with silicone sealant, that allow the whole floor to 'breathe'.
A perimeter joint is essential at the edge of the room, where the tiles meet the wall. This is often hidden under the skirting board, but it must be there. If the tiles are pushed hard against the wall and grouted in, there is no room for expansion. As the floor warms up, it expands, and the resulting pressure can be immense, causing tiles to lift from the floor (tenting) or crack.
For larger floor areas, intermediate movement joints are also required. The British Standard gives clear guidance on their spacing. The absence of these joints in a large tiled conservatory, for example, is a very common cause of failure as the floor goes through wide temperature swings.
When to call an independent inspector
If you have an ongoing dispute about a failed floor and are not getting a satisfactory resolution, an independent inspection report can provide the objective, evidence-based analysis needed to move forward. My reports are based on physical findings from site, measurements, and reference to the relevant British Standards and industry best practice.
As an inspector trusted by retailers, legal professionals, and the Furniture and Home Improvement Ombudsman, I provide impartial reports across the United Kingdom. I offer a range of inspection levels to suit your needs, from a preliminary Silver report to a comprehensive Diamond package for complex disputes. You can find more information on my packages or contact me to discuss your specific issue.
Have a flooring problem of your own?
We are independent UK flooring inspectors. Tell us about your case and we will recommend the right inspection package, with a fixed fee in writing before any work begins.